Part 2: Laying the deck
5:11 pm
Your framework is now built and secured, so time to start laying your deck.
We advise to place six boards in position at any one time, leaving a gap of approximately 5mm between each board (you can use a nail to ensure the gaps remain the same). The gap of 5mm provides ventilation for the boards and allows for expansion in wet weather. To secure the boards to the deck use decking screws, these are coated to ensure they do not rust and spoil the timber. Deck screws are available in 200, 500 or 1000 units. We advise to pre-drill the screw holes to minimise the risk of splitting the wood. You should secure the ends of the boards before securing the centre of the board. If you have decided on a decking area larger than the boards, the boards will need to be staggered ensuring that all joins are done over a joist so you can secure both the boards to the framework.
Finishing touches count! So, when you have secured all deck boards it is time to finish off the edge that is visible. This can be done by an addition deck board running the length of the outer frame. Again, screw the ends in place before securing the centre.
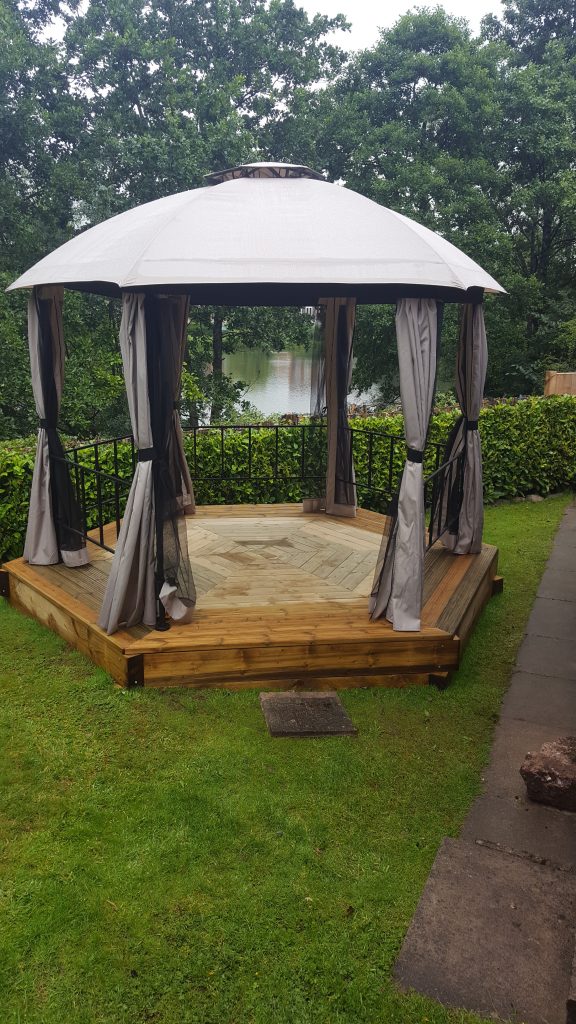
You don’t have to lay your decking in straight lines you can lay the boards diagonally or even create a herringbone effect. Give us a call if you want to be more adventurous and we can talk through the options.
Part 3: Treating your deck and adding a balustrade
